Did somebunny say Easter? Well, color me delighted because it’s officially the season where springtime adventures begin, chocolate treats overflow, and the world turns pastel! Aside from the busy brunch and activities preparation, we know you’re already planning what clothes and nails to wear for this occasion.
Looking for a beginner-friendly Easter manicure that is playful yet sophisticated? Be a nail art eggs-pert in no time with this nail tutorial that features a stripe-patterned pastel Easter egg with adorable flowers and a high-shine chrome!
1. Prep with base coat

When it comes to press-ons or nail extensions, you have an option to use iGel Gel Base Coat 0.5 oz. Some nail lovers use a base coat or a primer to help build up the opacity of the nail tips, making them match the natural nails more and increasing the longevity of the nails. If you’ve been convinced to try a Base Coat, prep the almond-shaped nail with a very thin layer and cure it for 30 seconds.
2. Apply white polish

Let’s set the base for this nail set using a pure white shade: Rosé Duo - R001 All White, one of the most sought-after white gel polishes that has one-coat coverage. Paint 2-3 thin, even layers onto the nail, then cure for 30 seconds per layer under a strong UV/LED nail lamp (check out our latest lamp: Hybrid Pro 3.0 XL).
3. Rub the chrome powder

Who says you can’t mix chrome and pastel? To create a luxe contrast against the pastel colors, bedazzle your nails with #2 Silver Chrome of the SUPERNOVA Nail Pigments Chrome Kit. Rub in the chrome using your preferred applicator, then build it up by adding multiple thin layers. You may also use a Dust Brush to remove excess pigments on the nail.
4. Draw the egg

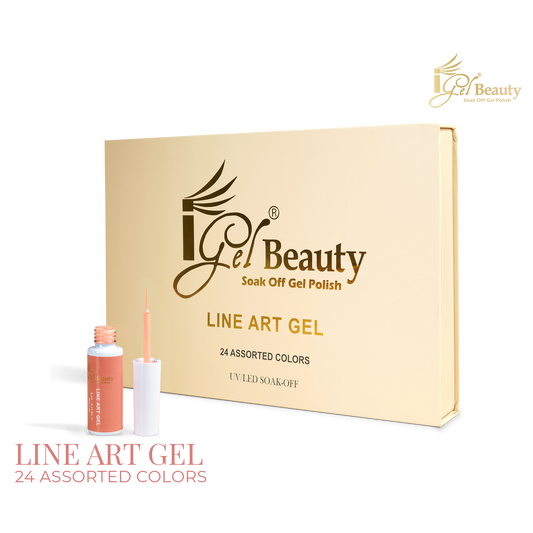
Here comes the egg-citing part! Grab 01 White on White liner from your Line Art Gel Kit and draw an egg shape, following the natural curve of the almond nail tip. Flash cure your tips for 10 seconds, as it will set as the base for your Easter egg nail art. Make sure the egg has a smooth finish and is filled in properly.
5. Paint stripes pattern

It’s time to add some pastel magic to your nails. Starting from the bottom, carefully paint colorful stripes of 05 Perfect Periwinkle, 06 Ocean Eyes, 08 Pastel Green, 09 Bumble Bee, 11 Babygirl, 04 Lavender, and then 07 Minty. Don’t forget to flash cure for 10 seconds to secure your nail design. Through the Line Art Gel Kit (24 Colors), you can express your creativity with every stroke.
6. Outline the pastel egg design

Before we move on to creating flower nail art, let’s define the form of the pastel egg by outlining it thinly with 02 Black on Black liner of the Line Art Gel Kit (24 Colors). The black outline accent will add depth and uniqueness to the nail and act as a boundary, making your egg masterpiece easier to recognize.
7. Draw white and pink flower dots

Adding flower nail designs is the easiest way to springify a nail set. Using a dotting tool like the Rhinestone Picker Tool, create five dots with 01 White on White liner from the Line Art Gel Kit or Rosé Duo - R001 All White. Subsequently, add a baby pink dot in the middle using 11 Babygirl to complete the adorable flower nail art.
8. Finish with No Cleanse Top Coat

This is the moment to finalize the design! Seal your Easter egg nail art with iGel Beauty No Cleanse Top Coat (fully cure for 30-60 seconds), our most popular top coat that gives you a durable, long-lasting shine. Apply the same steps to the next nail to achieve the whole look!

You'll definitely enjoy an eggs-traordinary Easter by diving into this festive nail trend! What part of this tutorial did you enjoy the most? Express your thoughts in our iGel Beauty Facebook Community! We'd be thrilled to see your version of this Easter egg nail design; post and tag us on Instagram at @igelbeauty! Wishing you a joyous Easter and a fantastic celebration, our dear iGel Beauties!
────────────────────────────────────────────────────────────────────────